|
Enrolment Documents
|
 
|
|
Enrolment Documents
|
|
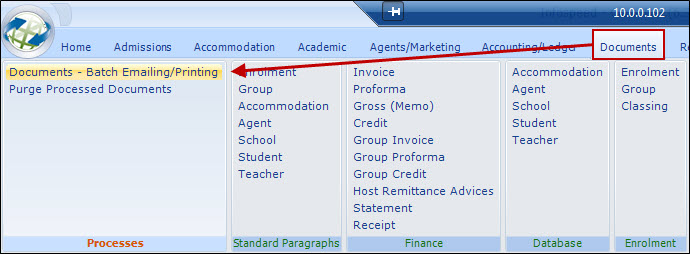
Enrolment Documents You are able to access documents
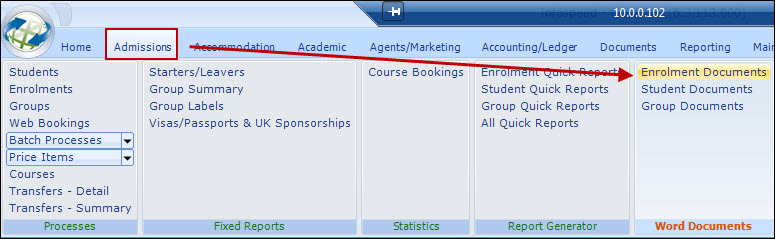
directly from a student's enrolment: ...or via this
method: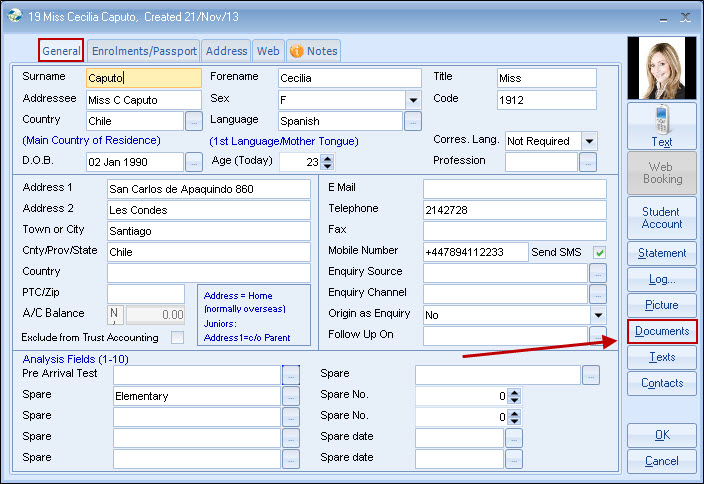
Add
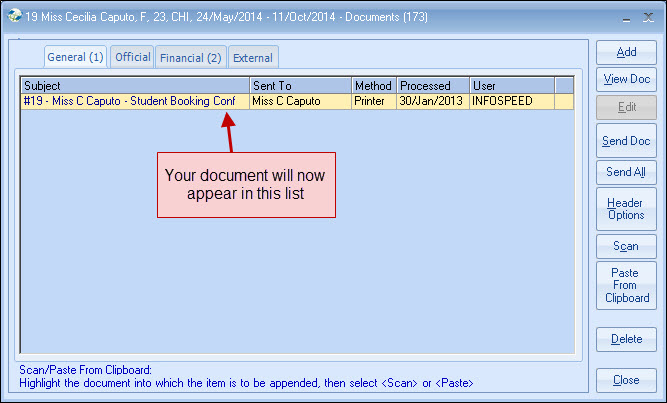
Add a document to the list by
clicking on Documents WITHIN Enrolment > Enrolment/Passport >
Documents:
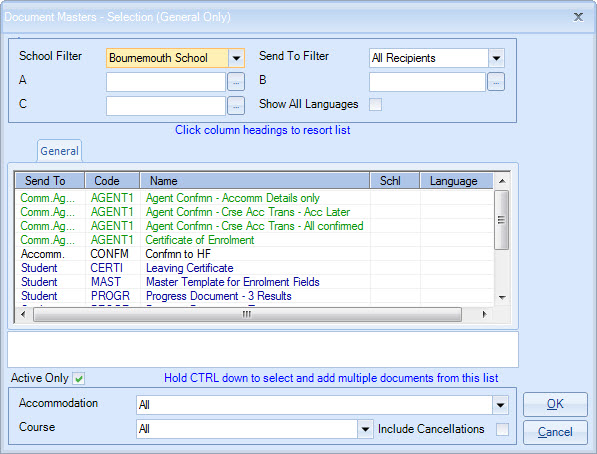
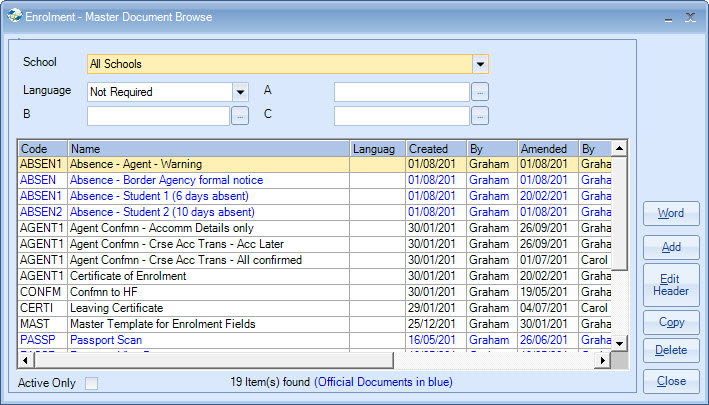
Select your document as required.
Note that columns can be sorted
by clicking headings.
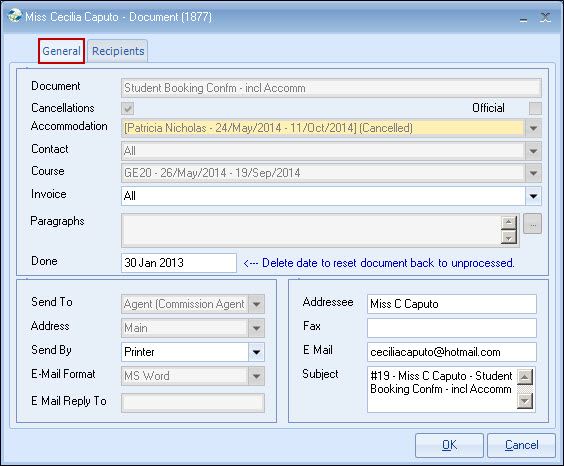
Select "Accommodation" to send a document to a specific family (see example below)

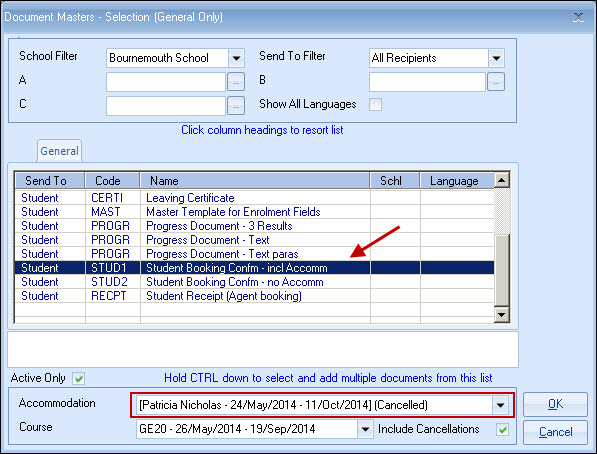
Note: All Cancelled Records are ignored when merging. If a document is to be sent to say "Cancelled" accommodation, then the document header should select the 'cancelled' family & 'cancellations' (see example below)

Mrs Able is
cancelled and a document is required.
Make sure to tick "Include
Cancellations", otherwise Mrs Able's name would not appear in the drop-down, and her data will
not merge.
Enrolment documents are split into 3
categories:
General is for your
general documentation
Official is for visa/passport
documentation
Financial is for
proformas/invoices
Before visas and passports can be added (scanned or
pasted) into Class, Master Official templates need to be created.
A single master
document is required for the passport/visa, if the document is to be
scanned/pasted.
The scan/paste system 'appends' to
anything already existing in the document, thus allowing a single document
to include all necessary pages.
If the document is to be viewed on the screen, highlight the
document and select "View Doc" (or alternatively, double-click the
document).
The document will be merged and displayed, and the document can
then be edited.
The document can now be printed, faxed or emailed. To fax or
email, it is best to save the document, complete with editing, and then select
"Send Doc". The system will ask you:

Answer "Yes" and the system will send
via the "Agents (Student/Accommodation etc) preferred
options.
An option is provided to allow the
documents not to be treated as processed.
It is possible that the
document has been viewed and edited, but the sending is to be done by the
document batch process.
Under the actual agent, you can select options, in this example "Send By" printer.
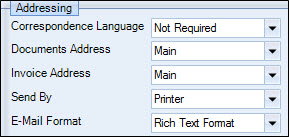
Select "Header
Options":
You can change any of the above options. A typical use is to change the "Send By" to e-mail.
Send
All
This option will send
all unprinted documents in the list.
If documents are
to be send via the Batch option, leave the document unprocessed.
Select
the Batch option, say, once a day (see help on Batch Processing)