|
Timetable Plan
|
 
|
Timetable Plan Select your
school, start date and template. Classes can be dragged to another room, and if a
teacher(s) has already been allocated, then the teacher is automatically moved
to the new room as well. Alternatively,
teachers with any unavailability (background highlighted) can be selected
(double-click) to show details. Insert Once Insert in All Empty
Classes The "Fast" mode
will remove all the colours and some validation, but will make the drag/drop
process a lot quicker. Timetable Views
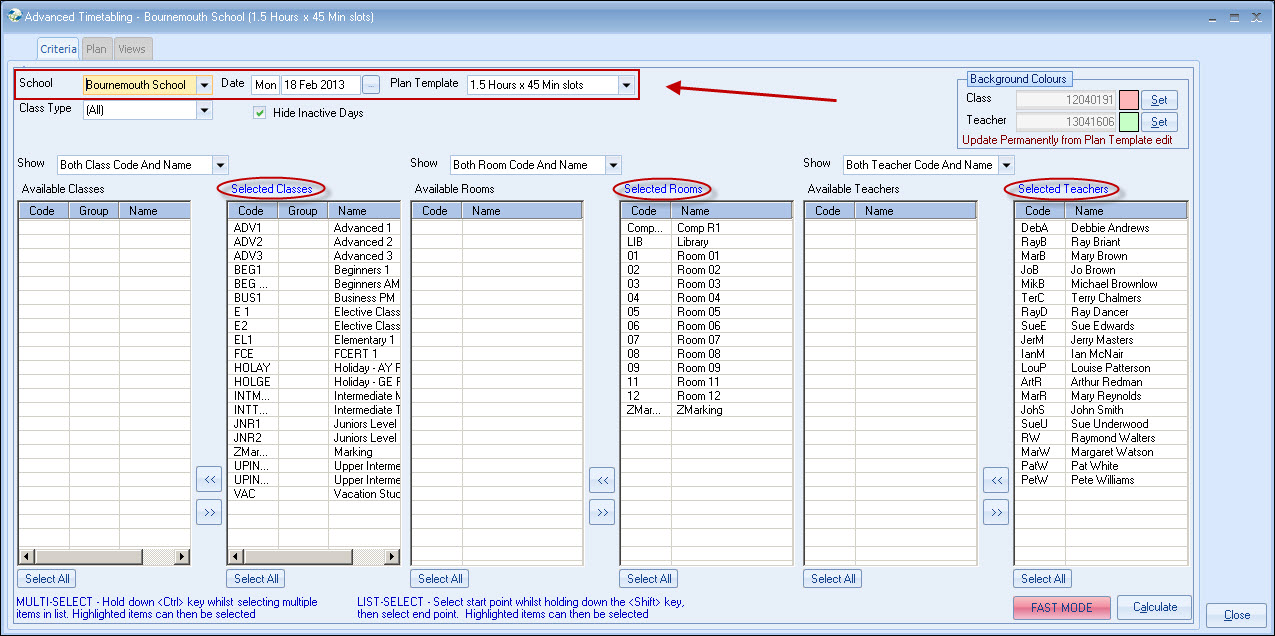
Class and teacher colours may be
changed (for testing best colours), but once decided, update permanently in
Timetable Templates (Edit).
Select "Calculate" to display the
timetable.
Classes need to be added first, then rooms and
teachers.
Drag Classes/Rooms/Teachers as indicated.
A number of checks
take place and warnings displayed of conflicts/overbooking situations. Screen
colours also change to indicate continued presence of possible
conflicts.
For example:
2 teachers in
1 class, a cell shows in orange:

Double-click to show second (or third)
teacher. Teachers can be dragged to another class or returned to the teacher
list.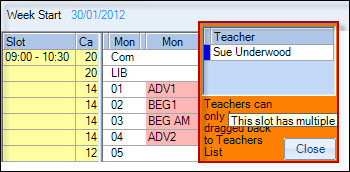
A red teacher cell means that there is a message to be
displayed.

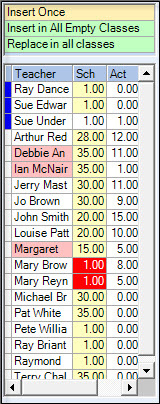
This will simply
drop the teacher into the selected class and is how the system has worked
historically.
When the teacher is dropped into a class, they will also
automatically be dropped into every other occurrence of the class where no
teacher has been assigned to it.
Replace in all classes
When a
teacher is dropped into a class where a teacher has already been assigned, the
existing teacher will be replaced along with every other occurrence of that
teacher where they have been assigned to that class.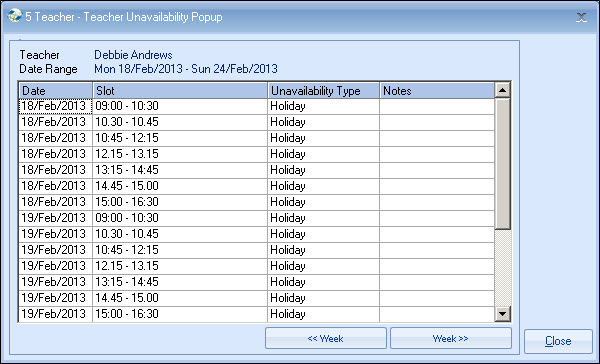
Experiment with the other button around the
screen.
Select View
(Class, Room or Teacher), and output to Excel if required.
Below is an
example of a Class 'View':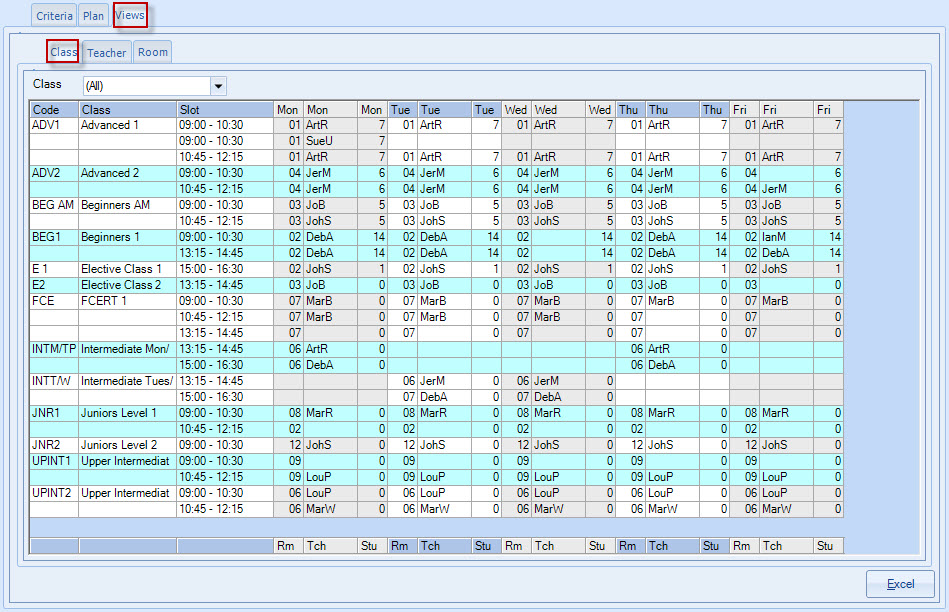
Copyright 2013
Infospeed Limited